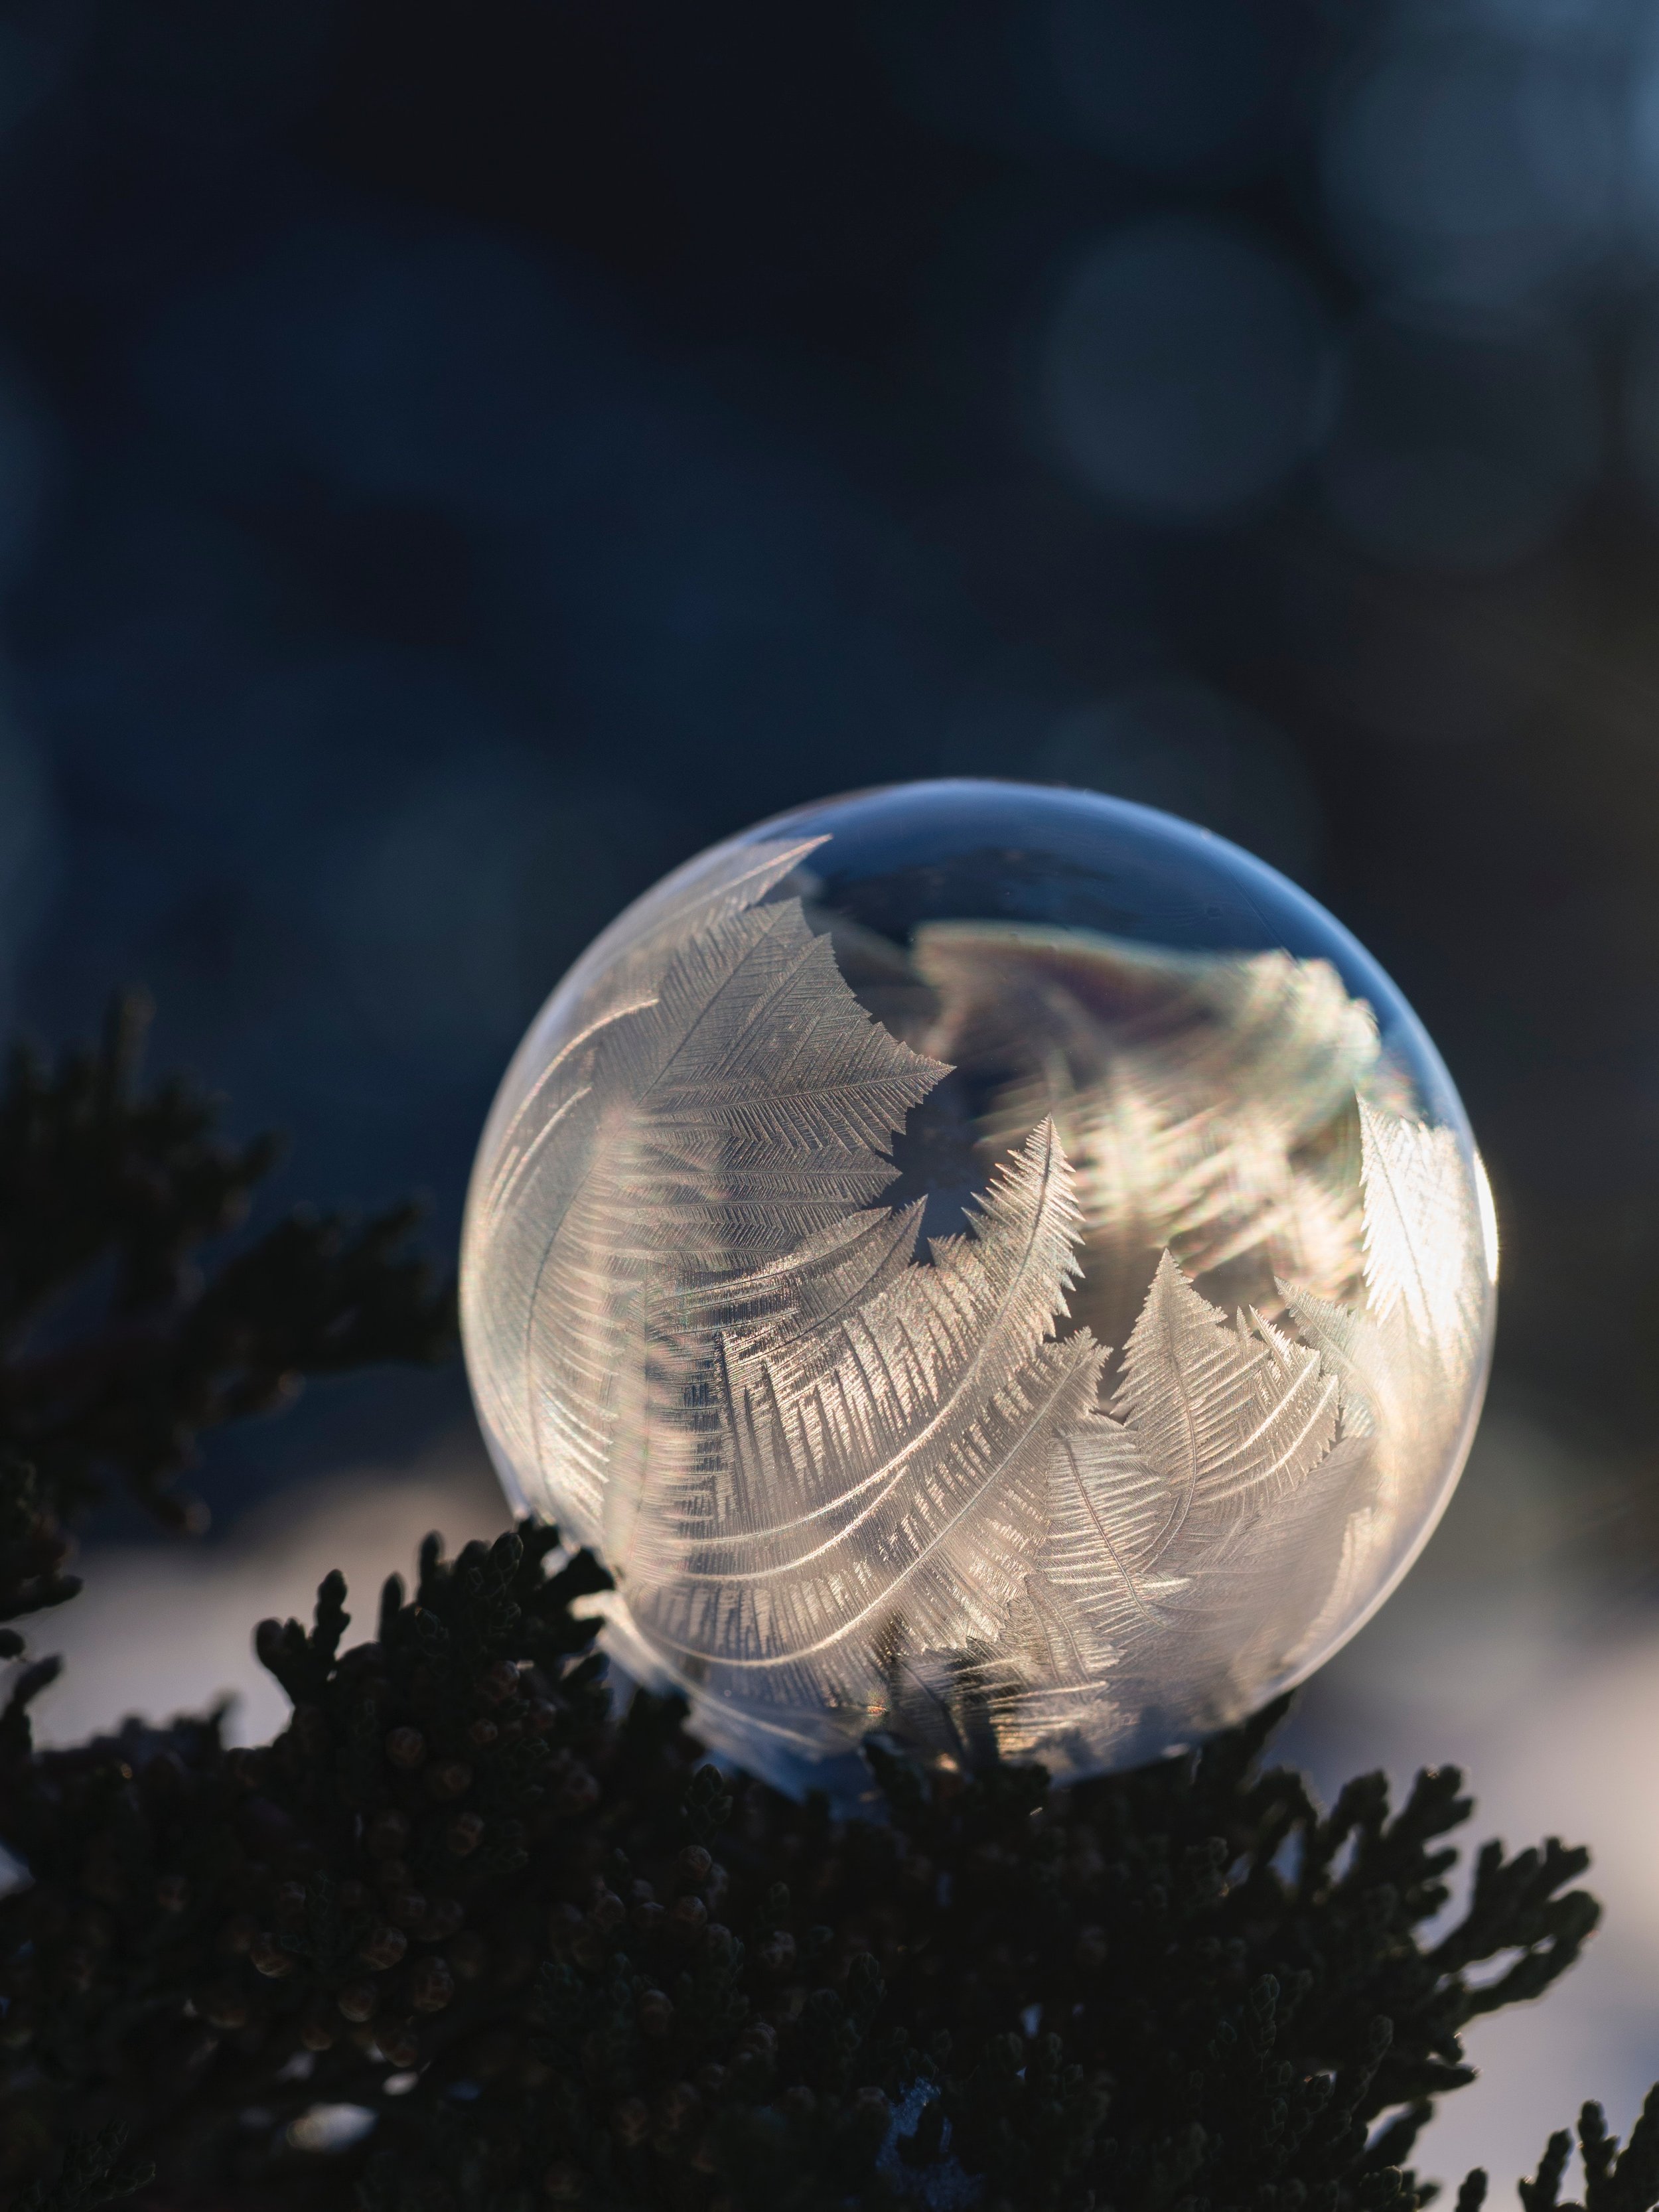
Frozen Bubble Photography
Every season brings different subjects to photograph. Shortly after we moved to Michigan, I remember seeing people freeze bubbles. I was intrigued by the patterns and designs. As I searched online, I found so many recipes and tips. I’ve tried a lot of them. Here are a couple of my favorite tips.
Tip 1 - Supplies

There are many opinions about which ingredients should be used in a frozen bubble solution. I try to keep my solution simple. I purchase normal bubble solution from the store, and I add glycerin to it. (I typically purchase both of these items at Walmart. Bubble solution can be found in the party favors area, and glycerin is in the skin care section.). I should measure how much glycerin I add, but I usually just pour a little in. The glycerin gives the bubbles more resilience.
Tip 2 - Weather
I have found the process works best for me on days that are 10-20°F with no wind. I find that if it’s much colder, the bubbles freeze too fast. If it’s above 20°, the bubbles don’t seem to freeze.
Tip 3 - Photography
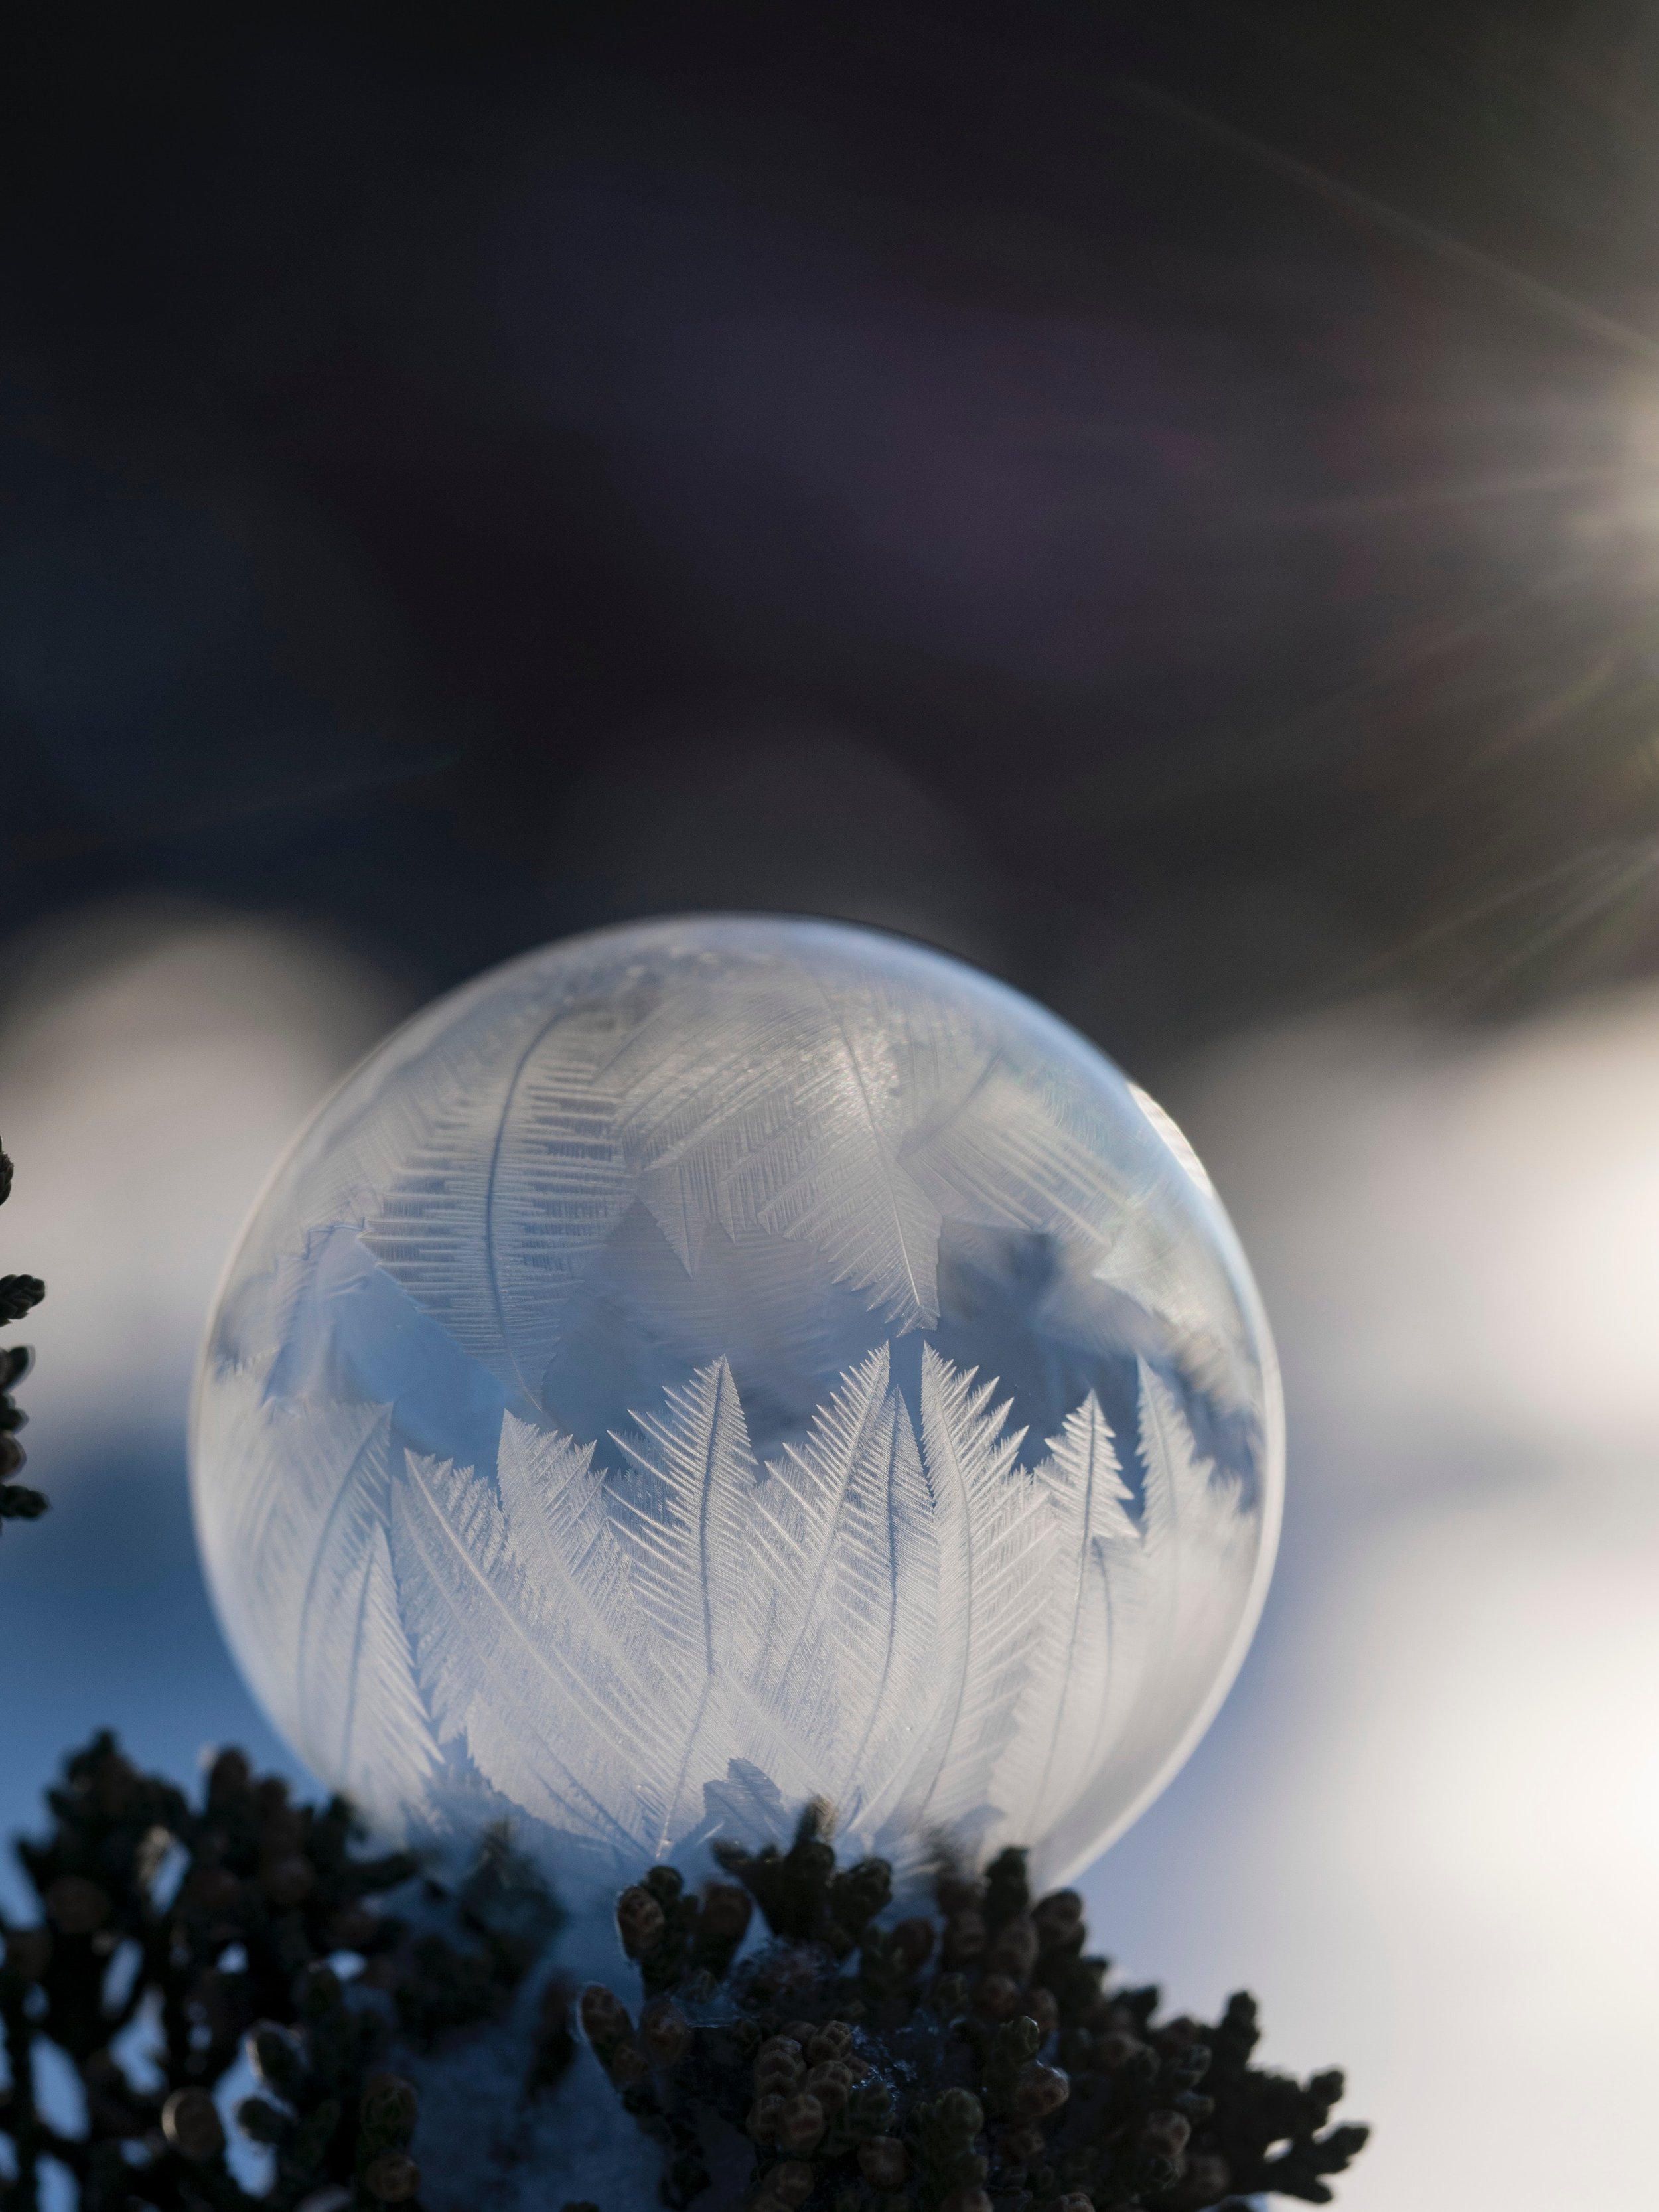
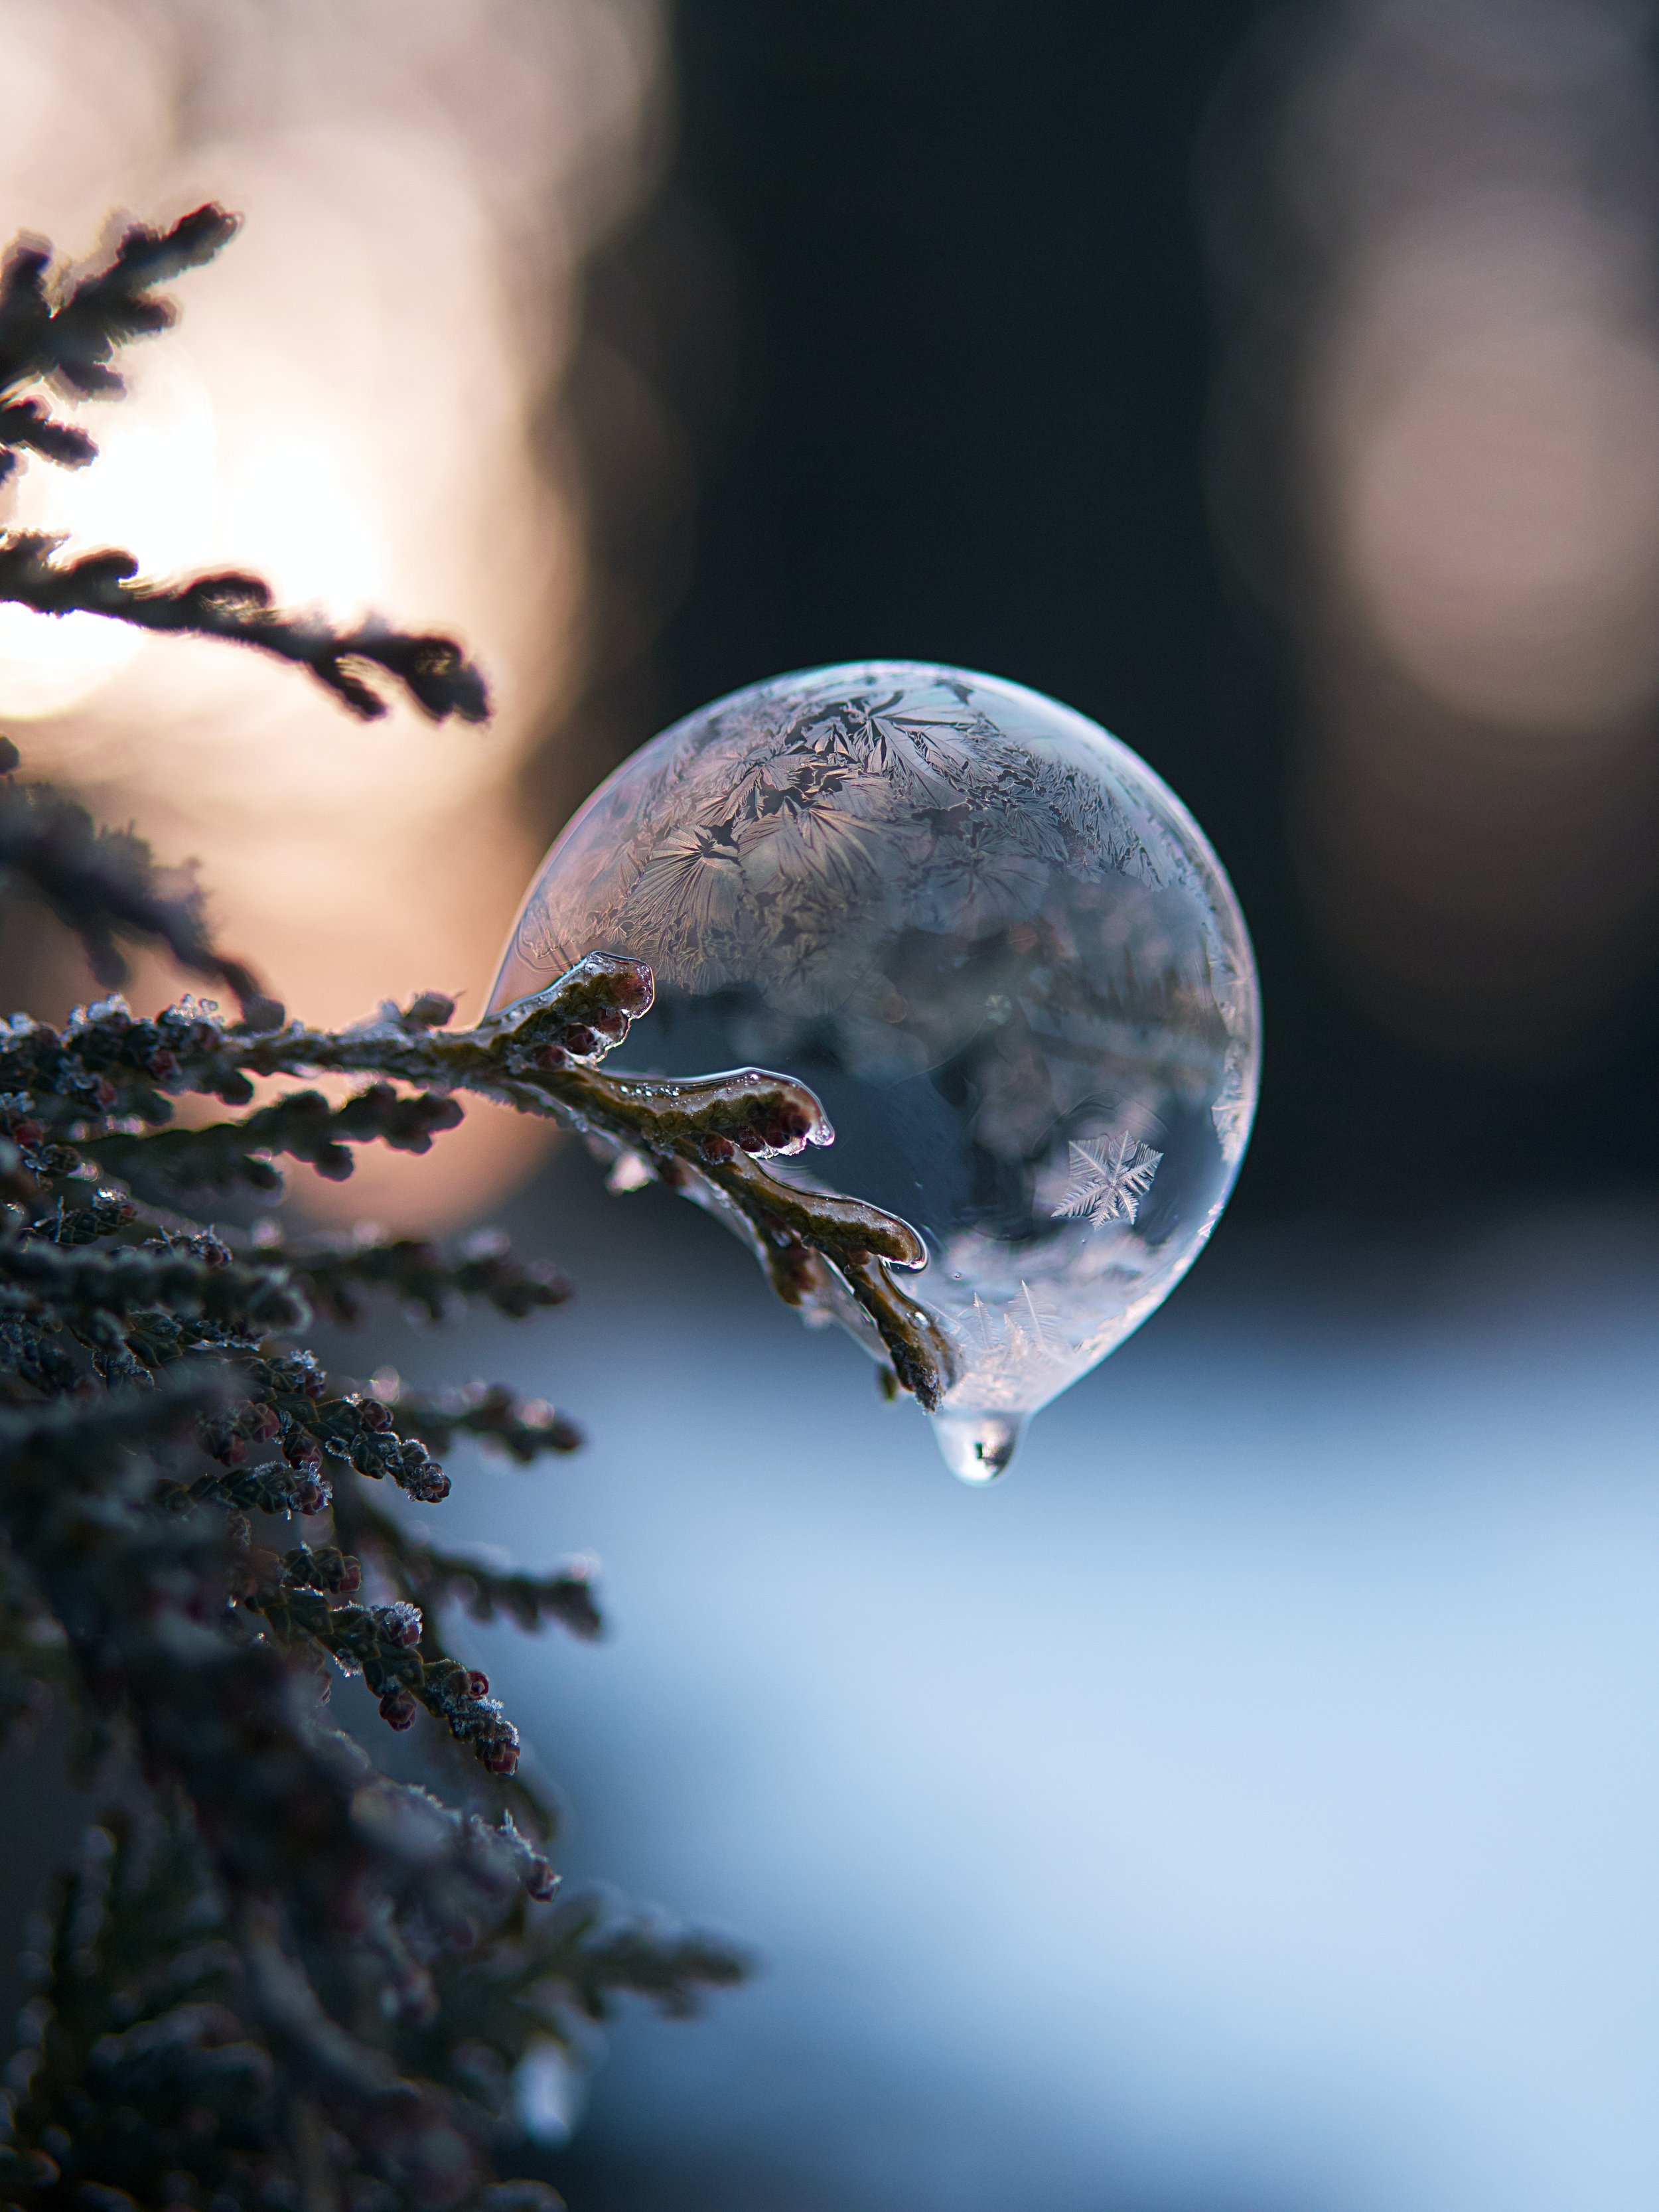
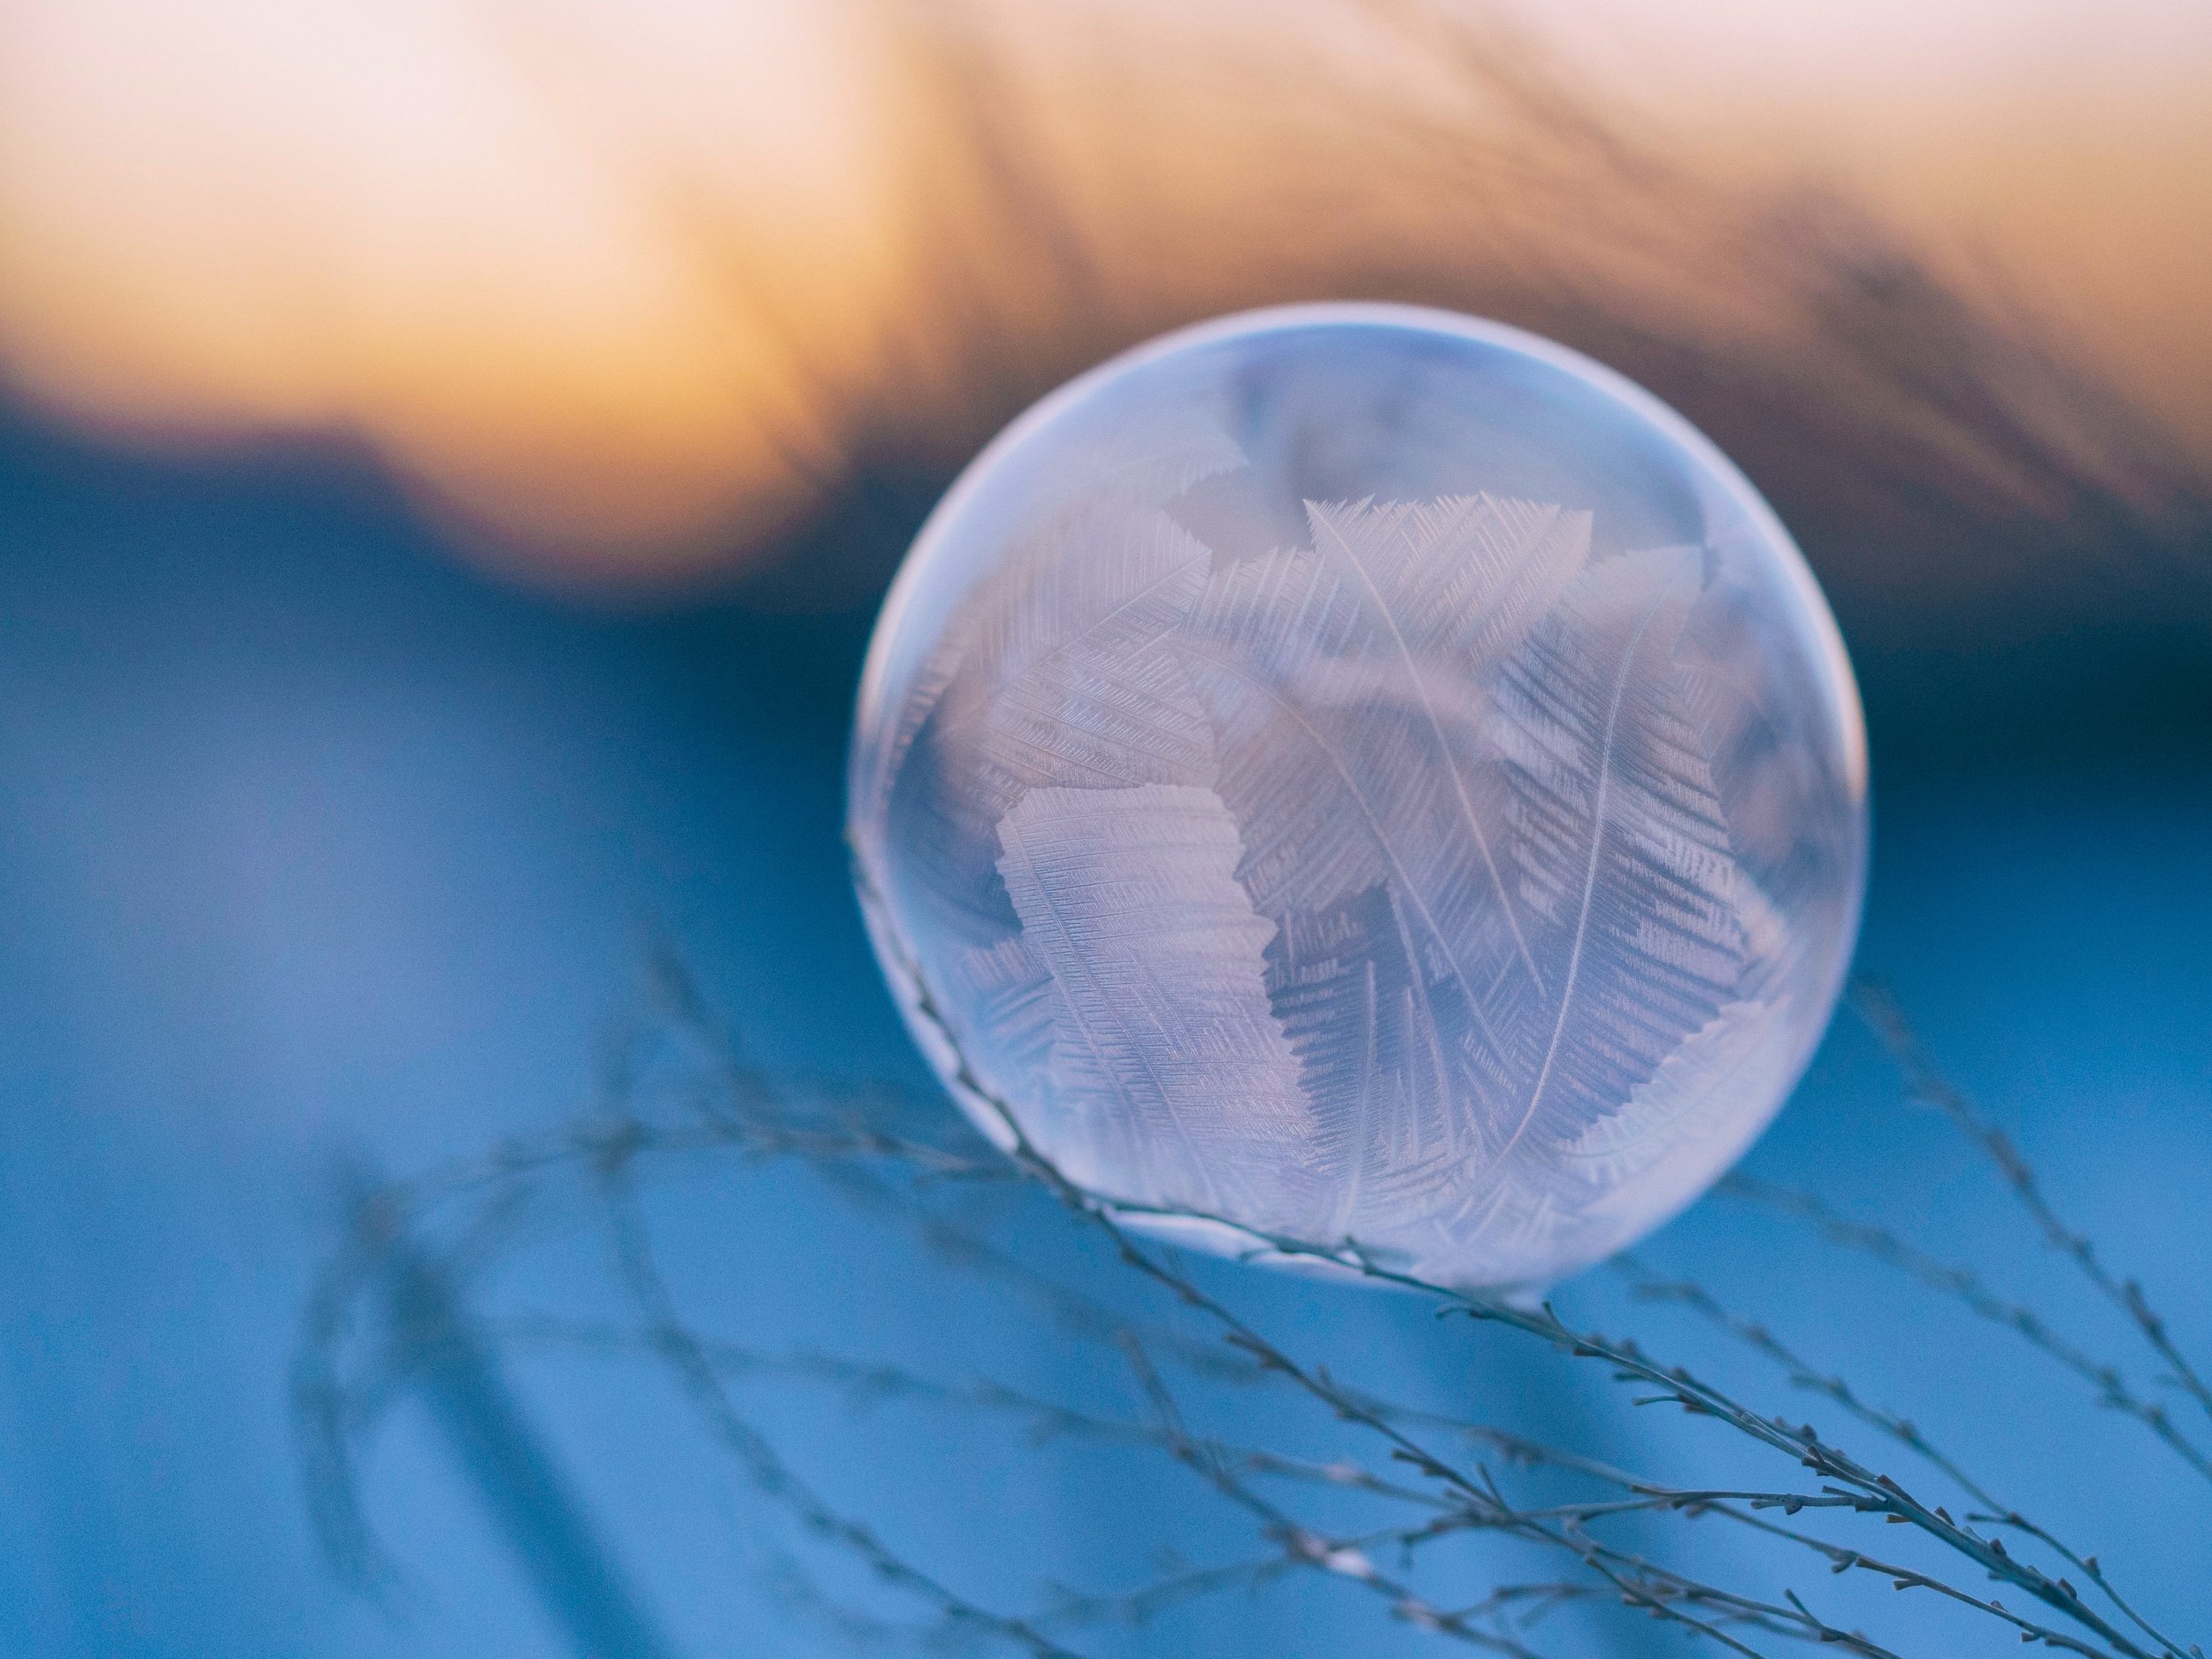
Like all of photography, light is key. I find that the best photos that I’ve captured are in the hour after sunrise and the hour before sunset. Also, I recommend shooting backlit. It seems easier to capture the textures and details as the sun shines through.
Bonus Tip
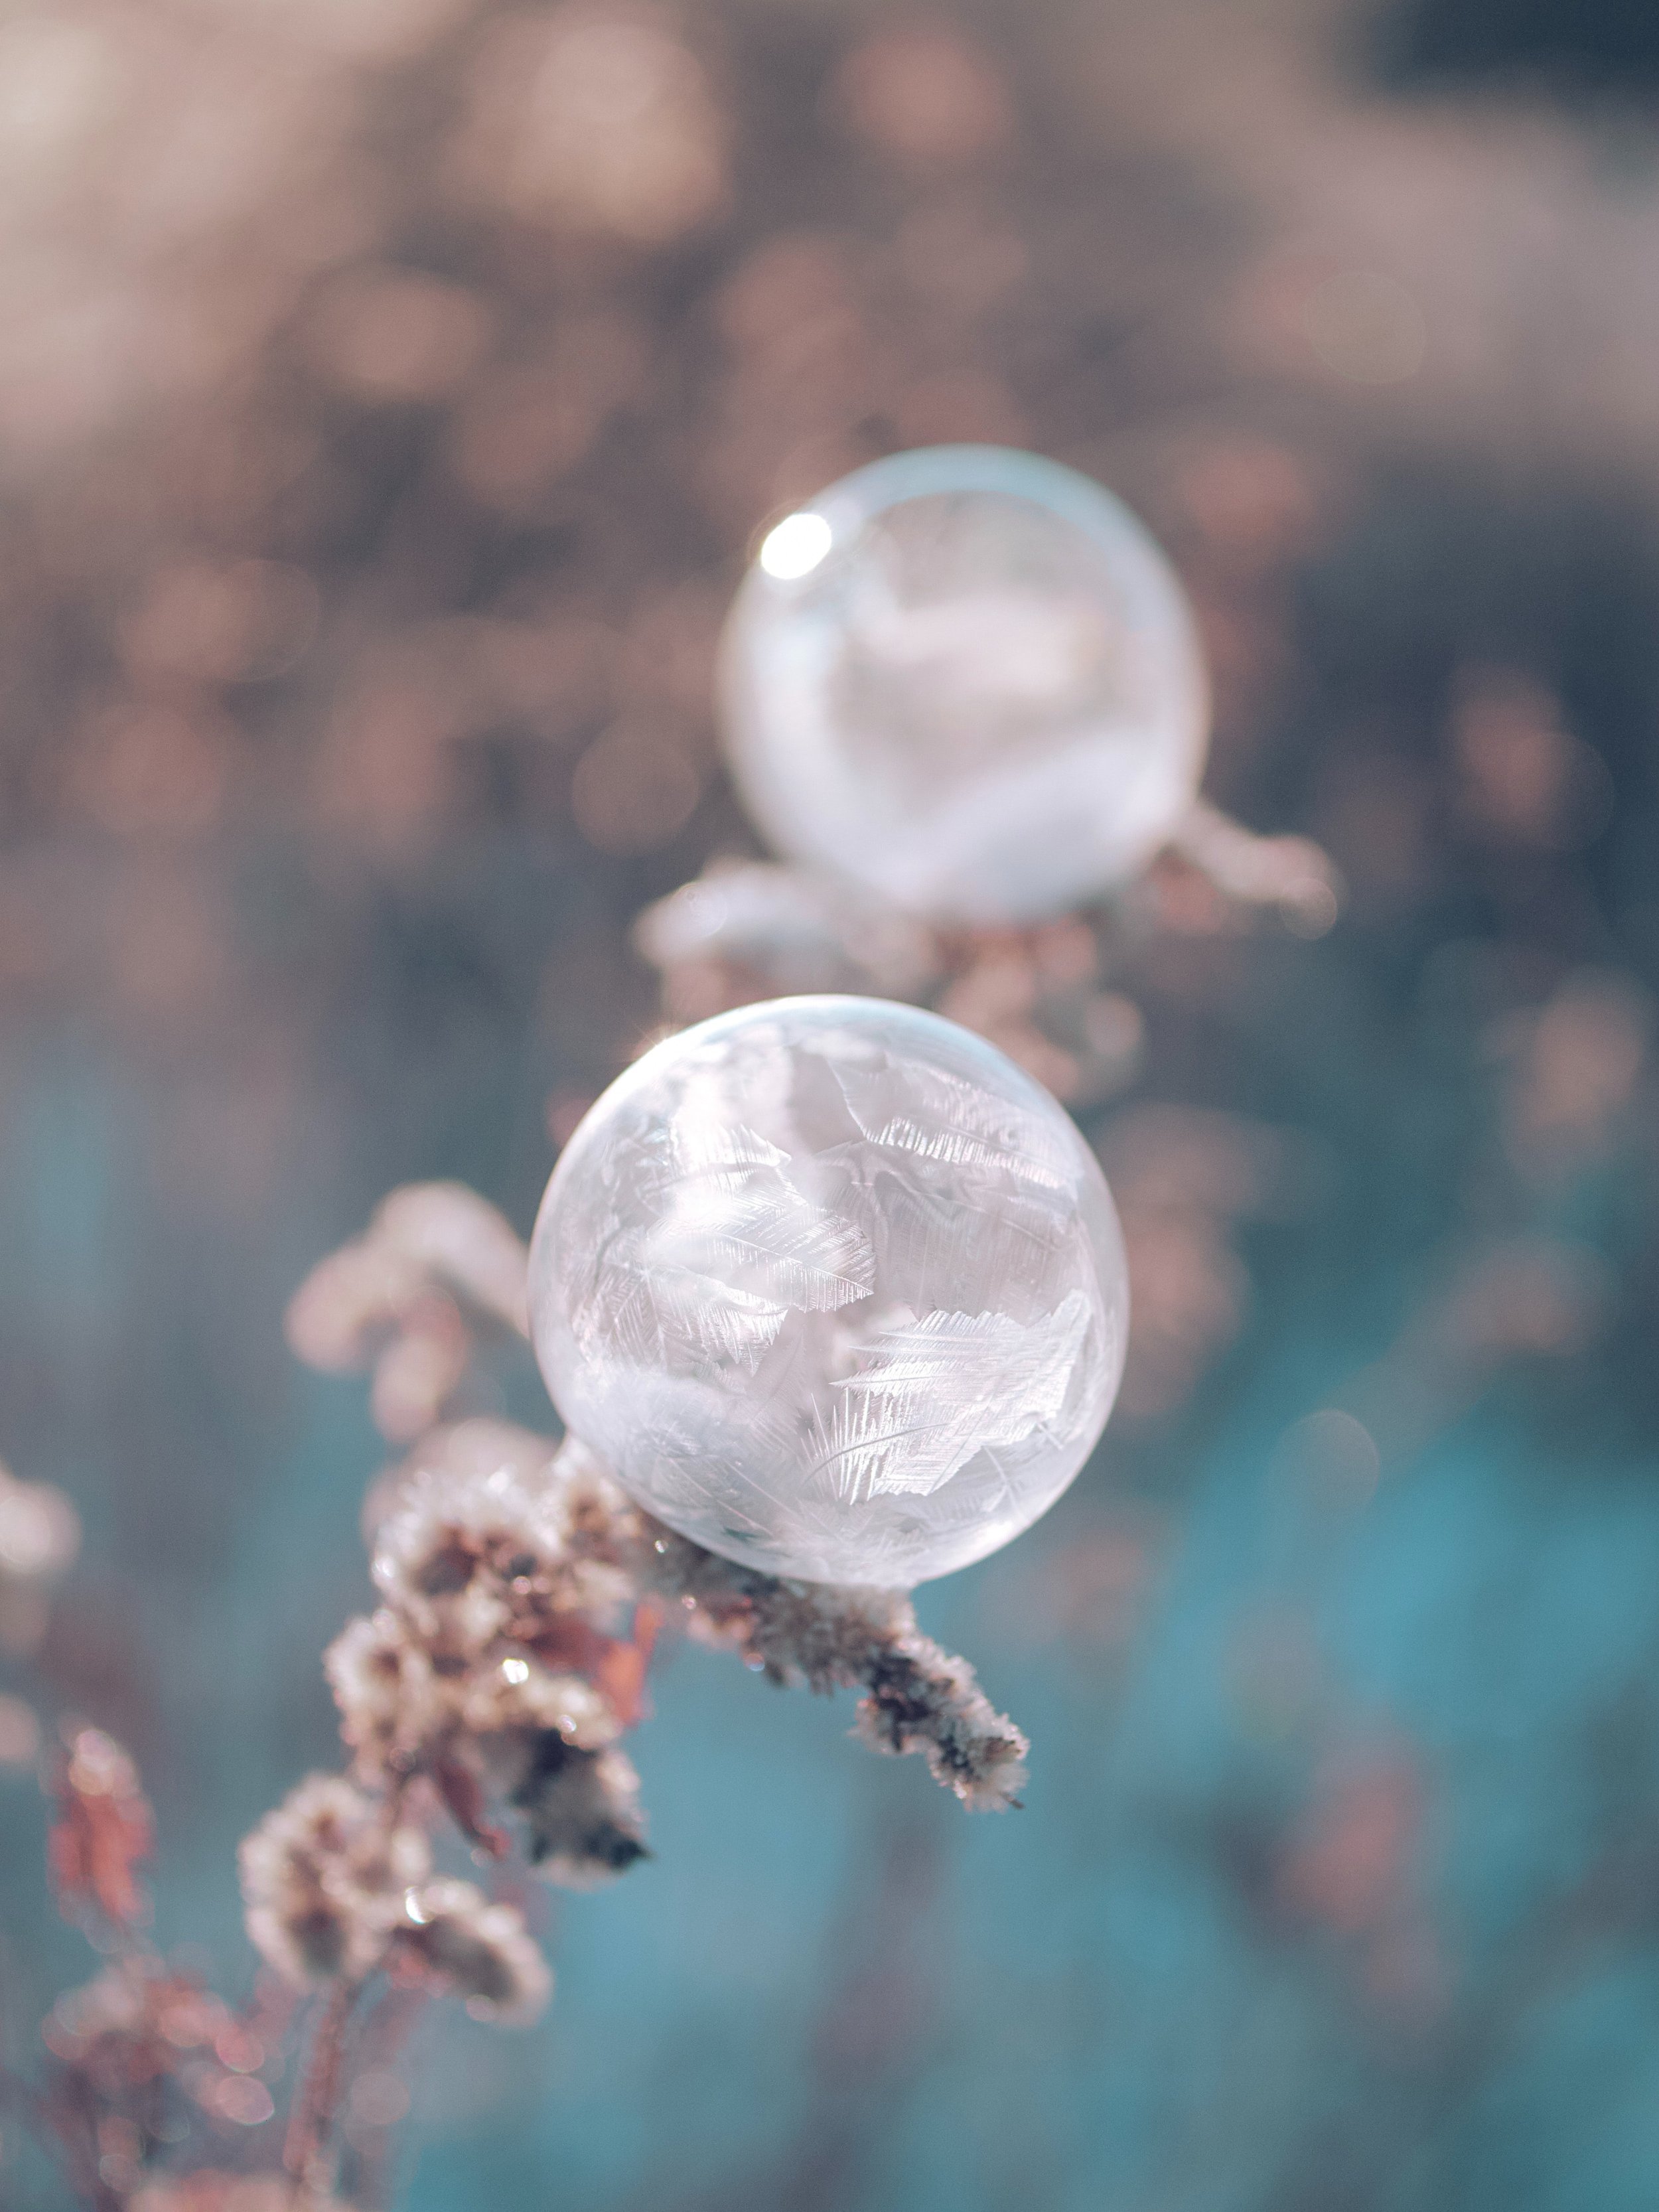
Use a straw to blow the bubbles. I tried using the bubble wand for awhile and let’s just say it’s not as effective. The straw allows you to place the bubble wherever you would like.
If you live in an area with cold winter temps, I suggest you try it. Even if you’re not a photographer, the freezing process is pretty cool to watch.
Do you have any questions that I didn’t cover? If so, connect with me on social media or leave a comment. Good luck!